Designing a screen
Trivia was the first thing your screens could say. The screen designer is the rest of it: lay out what a screen shows — today's menu, an offer, a word about the place — and it plays in the same idle view, with the music running behind it.
Open the designer
- Open trivia settings and sign in. Designs live on your account, so every screen you sign in on can show them.
- Under Your trivia, choose Design a screen.
- Already written something? Choose Design beside it and the canvas starts from those words instead of a blank page.
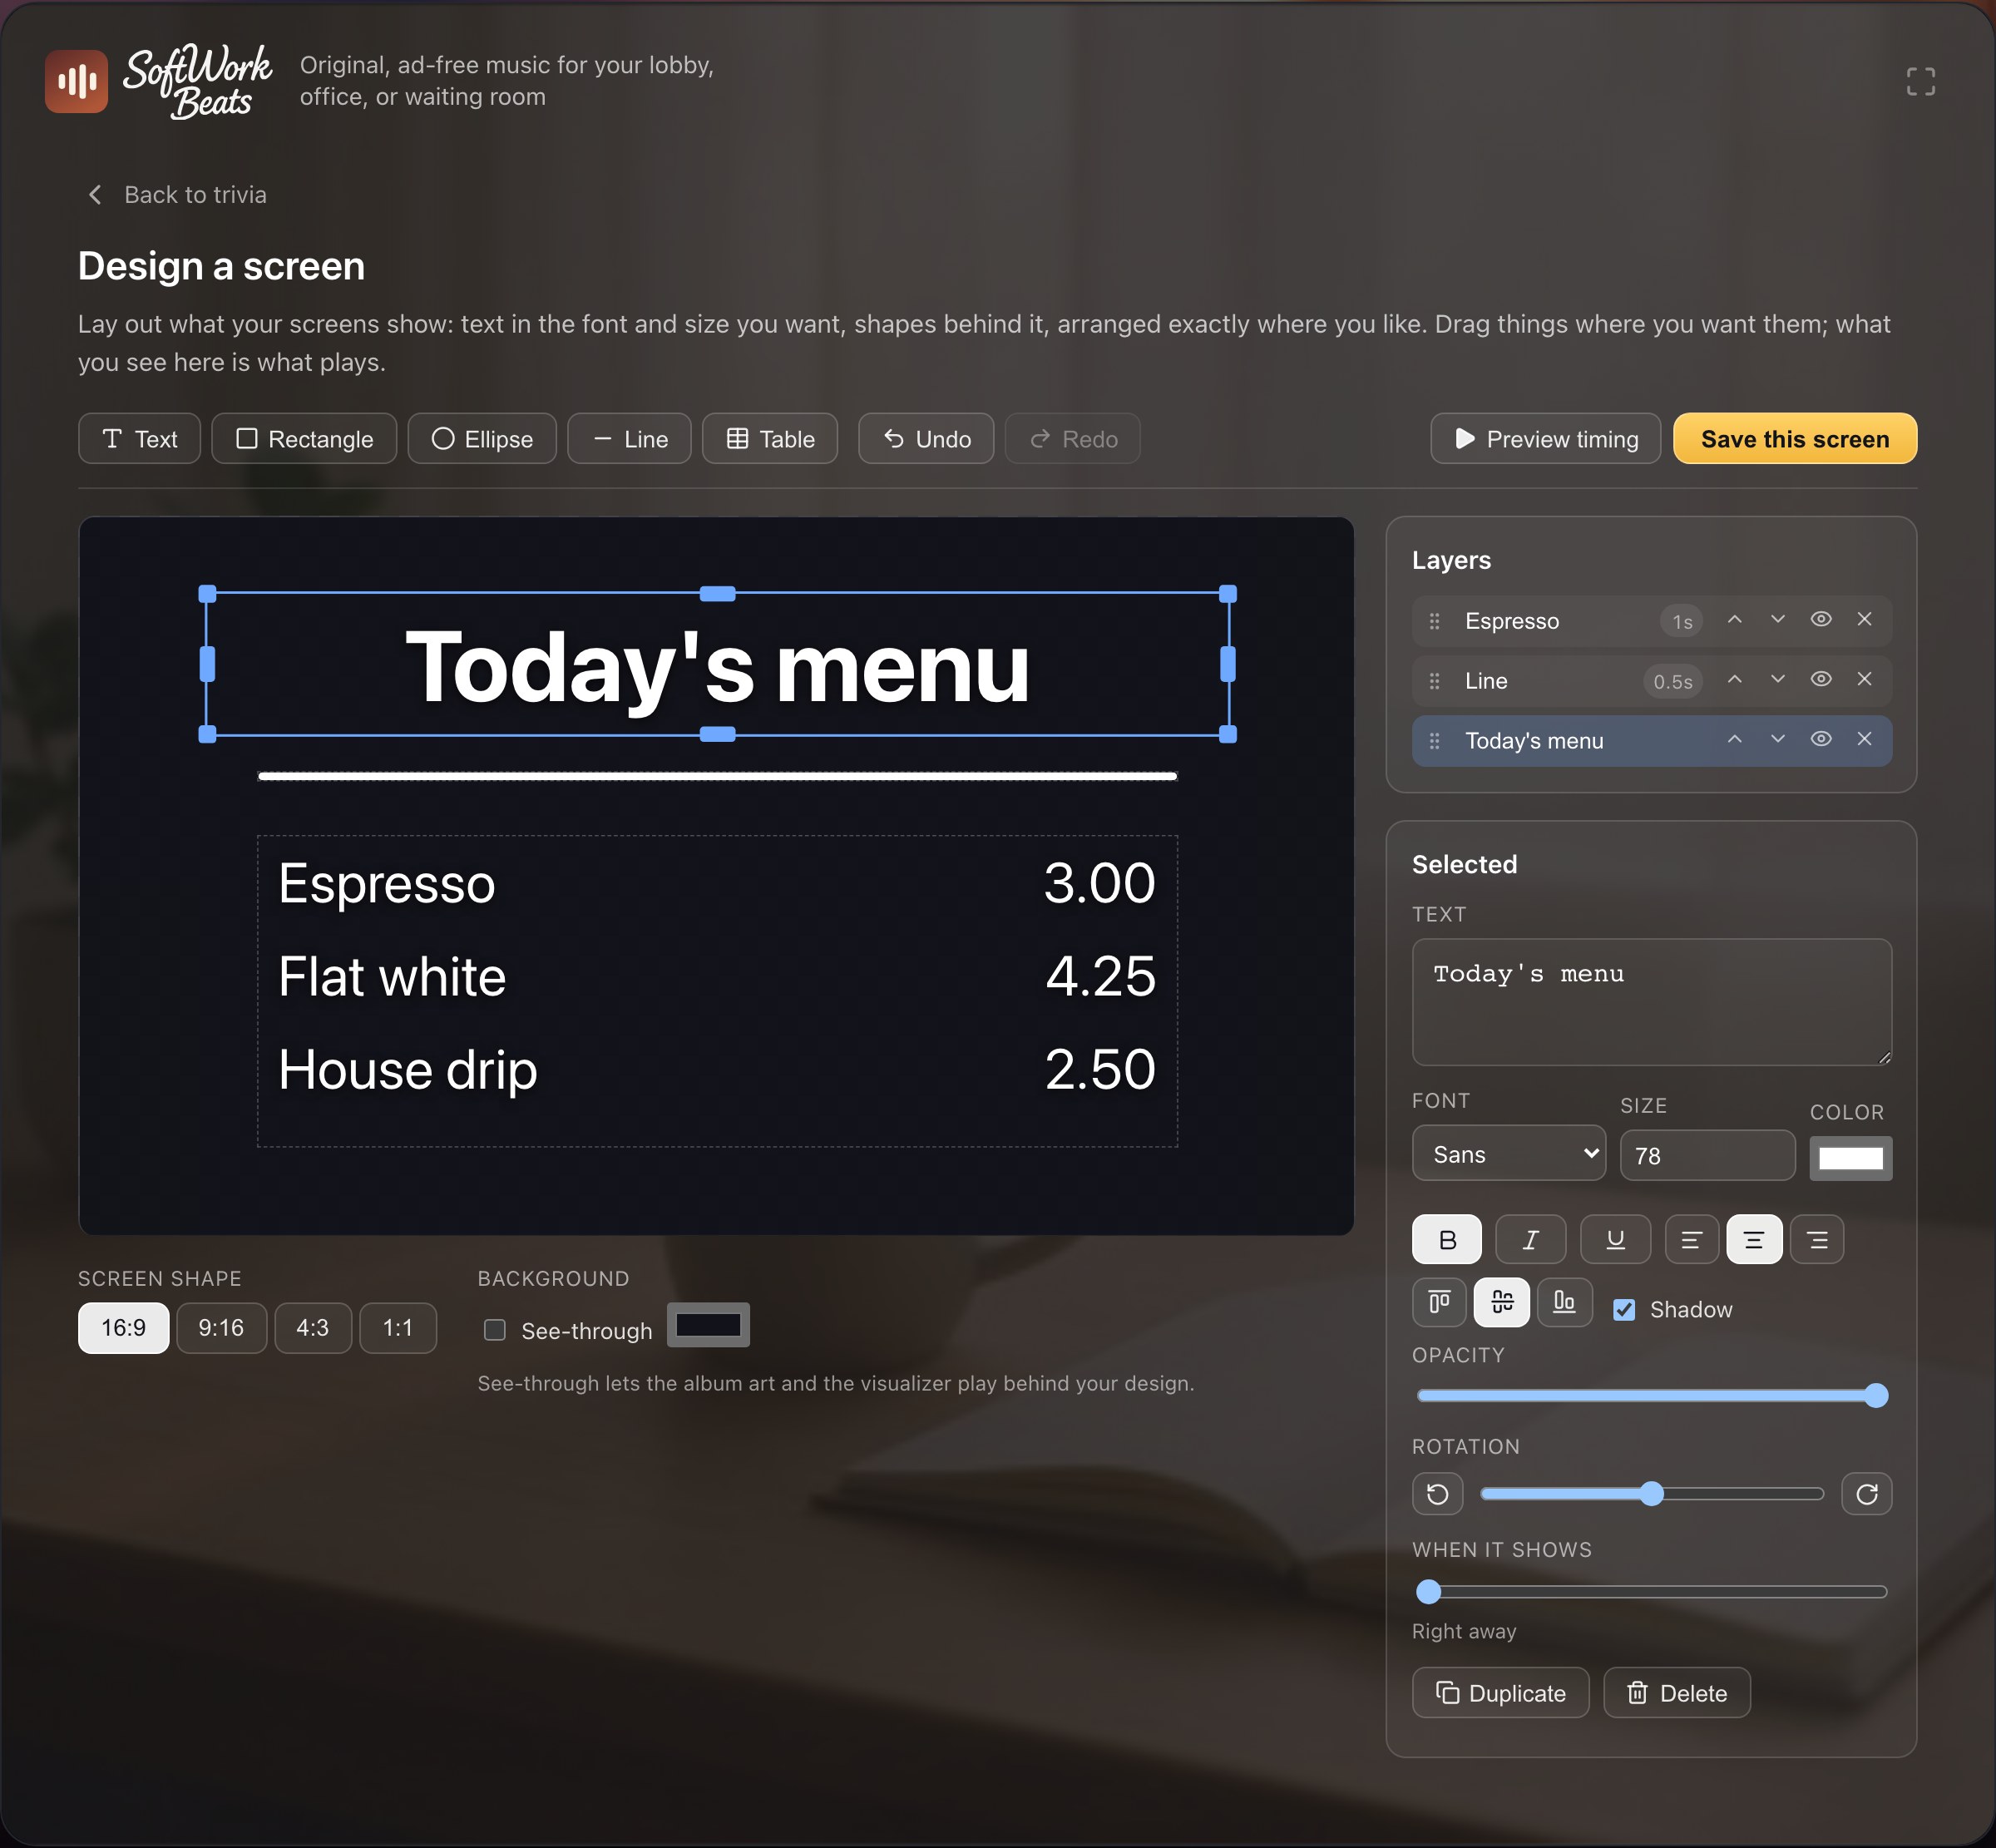
What you can put on a screen
- Text — your words, in the font, size, and color you pick, sitting where you want them in their box.
- Tables — a menu, a price list, opening hours. Type a row per line with commas between the columns — `Espresso,3.00` — or paste straight from a spreadsheet. Either way the prices line themselves up.
- Shapes — rectangles, ellipses, and lines. A panel behind your words, a rule under a heading, a border around an offer.
Drag anything to move it. Grab a corner to resize both ways at once, or the middle of a side to resize just that way. Arrow keys nudge whatever is selected; hold shift to move in bigger steps. To turn something, use the rotation slider in its controls — or the buttons either side of it for exactly a quarter turn, which is what a vertical price rail wants. Save this screen is at the top right, and nothing is kept until you press it. Everything stacks in the order shown in the Layers list — use the arrows there to bring a layer forward or send it back.
Not sure where to start? An empty canvas offers three starting points — a menu, an offer, and a portrait screen — and every part of them can be changed.
Line things up
Guides appear while you drag. A layer snaps to the canvas edges and center, and to the edges and centers of everything else on the screen — so a price lands exactly under its heading without any nudging. A solid magenta guide means the page; a dashed cyan one means another layer. Guides catch even spacing too: slide something near two others and it settles where the gaps match, with each gap drawn as a short bar. Resizing looks for the same lines, so a box can be dragged out to end exactly where its neighbour ends. Hold ⌥ Option (Alt) while dragging to ignore all of it.
To move several things at once, shift-click each one, or drag across an empty part of the canvas to lasso them. With more than one selected, Arrange appears: line up their left edges, centers, right edges, tops, middles, or bottoms with each other — or, with three or more, space them evenly across or down. Everything moves relative to what you selected, never to the canvas, so nothing jumps somewhere you didn't put it.
Portrait screens and see-through backgrounds
Screen shape sets what the design is laid out for: widescreen for a TV on the wall, portrait for a display standing by the door, and two shapes in between. Whichever you pick, each screen fits the design to itself — a portrait design on a landscape TV sits in the middle rather than spilling off the sides.
Hanging the TV on its side? Set that player's Screen orientation in Players too, and the whole screen turns — a portrait design then fills it from top to bottom.
The background starts see-through, so the album art and the visualizer keep playing behind your design. That is what you want for a logo or a short message. Turn it off and pick a color when the screen should be only your content — a menu reads better on a solid background.
Time what appears when
Every layer has a When it shows slider, and it is worth a minute of play:
- All the way left — it is there the moment the screen appears.
- A second or two in — it arrives after whatever came before it. Three menu sections at half-second steps assemble themselves.
- All the way right — it waits for the reveal: the same beat a trivia answer appears on, about ten seconds in.
Press Preview timing to watch the whole thing play out, then carry on editing.
The text version
Every design also carries a plain-text version of itself — the words a screen shows if it can't draw the layout, and the name your design goes by in your trivia list. It is written for you from the text on your canvas, so there is nothing to fill in and nothing that can drift out of step with the design it describes. A design made only of shapes has no words to borrow, so add a text layer before saving one.
Where your designs show up
- Web player — press the fullscreen button, or leave the player alone for a few minutes, and the idle screen cycles your designs along with whatever trivia you have turned on. See using a computer or tablet.
- Apple TV, iPhone, iPad, and Roku — the design itself, drawn on the device, with the same timing you set here.
Each screen can show its own. By default a design shows on every screen you sign in on, which is what one lobby TV wants. With three televisions behind a counter — drinks, food, specials — open trivia settings and use the On every screen control beside a saved screen to name the ones it belongs on. A screen with a single design assigned stops rotating and simply holds it, which is what a menu board should do.
The per-screen switch is the one trivia already uses, so a screen with trivia turned off shows neither. See on-screen trivia for that, and for choosing which trivia runs alongside your designs.
Ideas for a lobby
- Today's specials, or a short menu with prices.
- An offer that pays for itself: "Ask the front desk about whitening — most visits finish in under an hour."
- Your Wi-Fi name, and where to get the password.
- Opening hours, holiday closures, or "back at 1:30."